How to Contour and Highlight Like a Pro
Contouring and highlighting has taken the makeup world by storm in recent years. From celebrities to beauty gurus, this makeup technique has become a staple in daily routines and special occasion looks alike. But perfecting this technique can be a bit intimidating, especially for beginners. In this blog post, we will break down the steps to contour and highlight like a pro, so you can achieve a flawless, sculpted look that will turn heads.
1. Prep Your Canvas
Before diving into contouring and highlighting, it’s important to prep your skin. Start by cleansing your face and moisturizing it thoroughly. This will help your makeup glide on smoothly and ensure a long-lasting finish.
2. Choose the Right Products
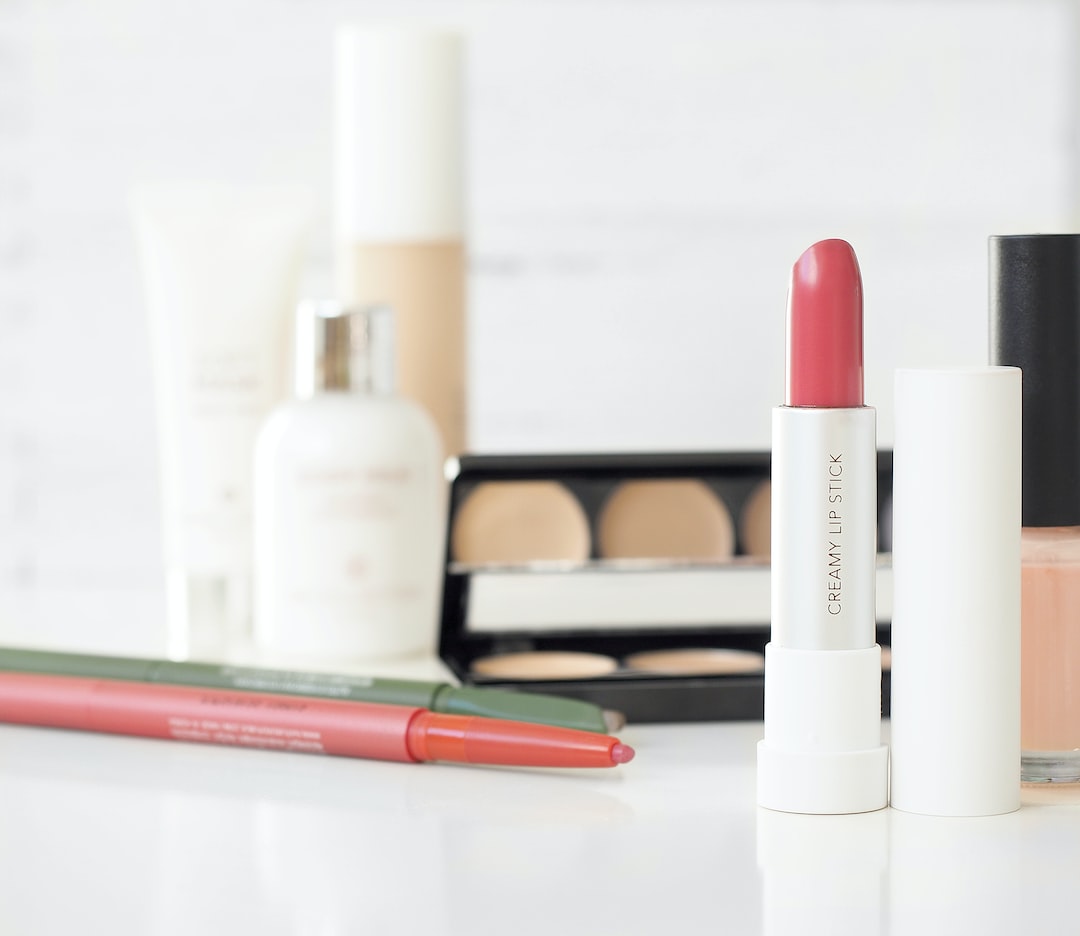
Contouring and highlighting require the right tools and products. Opt for a contouring palette that matches your skin tone and a highlighter that complements your undertones. Cream-based products are great for a natural finish, while powder formulas are perfect for oily skin types. Experiment with different textures and formulas to find what works best for you.
3. Identify Your Face Shape
Understanding your face shape is crucial for achieving a balanced and sculpted look. The main face shapes include oval, round, square, heart, and diamond. Each shape requires a different contouring and highlighting technique to enhance your features. Do some research to determine your face shape and tailor your approach accordingly.
4. Contouring Basics
Contouring involves creating shadows to define and sculpt your face. Using a contour brush or a small, fluffy brush, apply the contour shade to the hollows of your cheeks, along your jawline, and around your hairline. Blend the product using circular motions, making sure there are no harsh lines. The key to a natural contour is to apply gradually and build up the intensity if needed.
5. Highlighting Techniques
Highlighting is all about bringing light to the high points of your face, adding dimension and radiance. Using a small brush or your fingertips, apply the highlighter to the tops of your cheekbones, the bridge of your nose, the cupid’s bow, and the inner corners of your eyes. Blend well to avoid any stark lines and ensure a seamless finish.
6. Blend, Blend, Blend!
One of the most important steps in contouring and highlighting is blending. Blending not only ensures a flawless finish, but also helps merge the contour and highlight seamlessly into your foundation. Use a blending sponge or a clean brush to blend out any harsh lines and soften the overall look. Take your time with this step, as it can make a huge difference in the final result.
7. Set Your Makeup
To make your contour and highlight last all day, set your makeup with a translucent powder. This will help lock everything in place and prevent any creasing or smudging. Dust a light layer of powder over your face, paying attention to the contoured and highlighted areas. This step will also help to mattify any excess shine.
8. Practice Makes Perfect
Contouring and highlighting skills are not built overnight. It takes practice and experimentation to find the techniques that work best for your face shape and features. Don’t be discouraged if your first attempts don’t turn out perfectly. Keep practicing, watch tutorials, and experiment with different products and tools until you find your stride.
Contouring and highlighting can be a game-changer in your makeup routine. By following these steps and practicing regularly, you’ll be able to achieve a flawless, sculpted look that enhances your natural beauty. Remember, makeup is meant to enhance, not mask, so have fun with it and embrace your unique features. You’re one step closer to contouring and highlighting like a pro!

